

Installing a sink garbage disposal is a moderately complex DIY project that involves plumbing and electrical components. If you are not satisfied with these tasks, it is best to hire a professional plumber/electrician. If you’re confident, here’s a general guide to help you install a sink garbage disposal:
Materials and tools you will need:
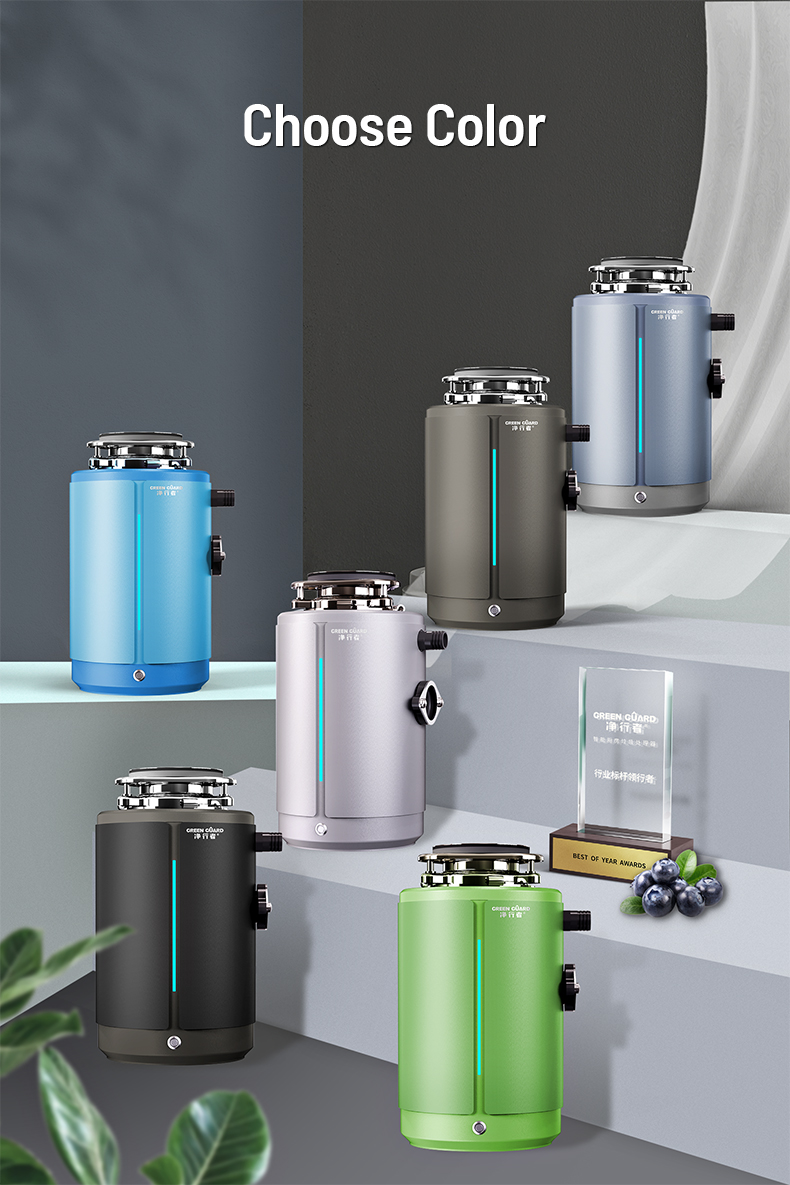
1. Sink garbage disposal
2. Garbage disposal installation components
3. Plumber’s Putty
4. Wire connector (wire nut)
5. Screwdriver (phillips and flat head)
6. Adjustable wrench
7. Plumber’s tape
8. Hacksaw (for PVC pipe)
9. Bucket or towel (for cleaning up water)
Step 1: Gather security equipment
Before you begin, make sure you have the necessary safety equipment, such as gloves and goggles.
Step 2: Turn off the power
Go to the electrical panel and turn off the circuit breaker that supplies power to your work area.
Step 3: Disconnect the existing pipe
If you already have a disposal unit, disconnect it from the sink drain line. Remove the P-trap and any other pipes connected to it. Keep a bucket or towel handy to catch any water that may spill.
Step 4: Delete the old disposition (if applicable)
If you are replacing an old unit, disconnect it from the mounting assembly under the sink and remove it.
Step 5: Install the installation components
Place the rubber gasket, support flange, and mounting ring on the sink flange from the top. Use the wrench provided to tighten the mounting assembly from below. Apply plumber’s putty around the sink flange if recommended in the disposer’s installation instructions.
Step 6: Prepare the Processor
Remove the cover from the bottom of the new processor. Use plumber’s tape to connect the drain pipe and tighten with an adjustable wrench. Follow the manufacturer’s instructions to connect the wires using wire nuts.
Step 7: Install the processor
Lift the processor onto the mounting assembly and rotate it to lock it into place. If necessary, use the wrench provided to turn it until it is secure.
Step 8: Connect the pipes
Reconnect the P-trap and any other pipes that were previously removed. Make sure all connections are tight and secure.
Step 9: Check for leaks
Turn on the water and let it run for a few minutes. Check for leaks around the connections. If any connections are found, tighten the connections as necessary.
Step 10: Test the processor
Turn on the power and test the disposal by running some water and grinding a small amount of food waste.
Step 11: Clean up
Clean up any debris, tools, or water that may have been spilled during installation.
Remember, if you are unsure about any step, check the manufacturer’s instructions or seek professional help. Safety should always be a top priority when working with electrical and plumbing components.
Post time: Oct-18-2023